


How to make sugar skulls
February 25, 2020
Over the past few years, sugar skulls (also known as Calaveras or calaveras de azúcar in Spanish) have become extremely popular - you may have seen them plastered all over the many new burrito restaurants popping up in Dublin.
While you may associate them with a Mexican dish that is not even that popular in Mexico,
their origin is a lot more sweet than savoury. A Calavera is typically a representation of a human skull, with brightly coloured designs and decorations in the form of sugar. As for its origin, it is traditional folk art from southern Mexico used to celebrate the “Day of the dead”, or Diá de Los Muertos, and the Roman Catholic holiday All Soul’s Day. The term is most often applied to the edible and decorative skulls made from clay and sugar during the celebration day. Spirits of the dead people are welcomed back to their home with artistically decorated Calaveras made by their families or loved ones.
Day of the Dead holiday is celebrated in southern and central Mexico during the chilly days of November 1 and 2. People with the ancient belief come together to honor their deceased loved one, believing that the gates of heaven are opened at the midnight and the spirits of all the deceased children are allowed to reunite with their families for 24 hours.
Families take the sugar skulls and flowers to the tomb and graveyard to decorate it. The sugar skulls are decorated colorfully with colored sugar, pieces of bright foil, icing and also bear the name of the deceased member who is being honored. They can last a year if kept dry and safe and are relatively easy to make. Because of their brightly coloured and often psychedelic designs, they’ve become extremely popular in graphic design and logo circles.

Things you will need:
- Some flat plates or cardboard panels
- Sugar skull molds
- Meringue powder
- Water as required
- Icing sugar (powdered) for the royal icing
- Fine granulated sugar
If you don’t have meringue powder it’s not a big deal, you can still make a sugar head without it. But since it acts as a binder to harden the sugar, if you don’t use it your sugar skull might easily fall apart. The powder is purely edible and it is made of dried eggs, so you can easily purchase one from most shops.

Steps to make sugar skull:
Mix the ingredients: take the granulated sugar and mix it with meringue powder and water. Don’t add too much water: you don’t want a paste form. Thoroughly mix everything for a few minutes until you get a consistency like sand. Now, take a small amount of mixture and form an indentation with your thumb. If the clump doesn’t fall apart, it means that the mixture is ready and it’s time to go to the next step: molding.
Mold the Mixture: Take the sugar skull mold and pack it tightly with the mixture. Use a sharp metal object like a knife or scraper to remove the excessive mixture. Now, take a cardboard plate or panel over the mold, gently flip it over and place it on a flat surface. Reveal your sugar skull by carefully removing the mold.
Let it dry: Leave the sugar skull in an airy place and let it dry for at least 5 to 6 hours. After getting it dry your sugar skull is ready. You can decorate it with colorful icing according to your own design sensibilities.

Not too hard: Give it a go and let us know how it turns out!
Articles
Or just taming the clutter at your front door...
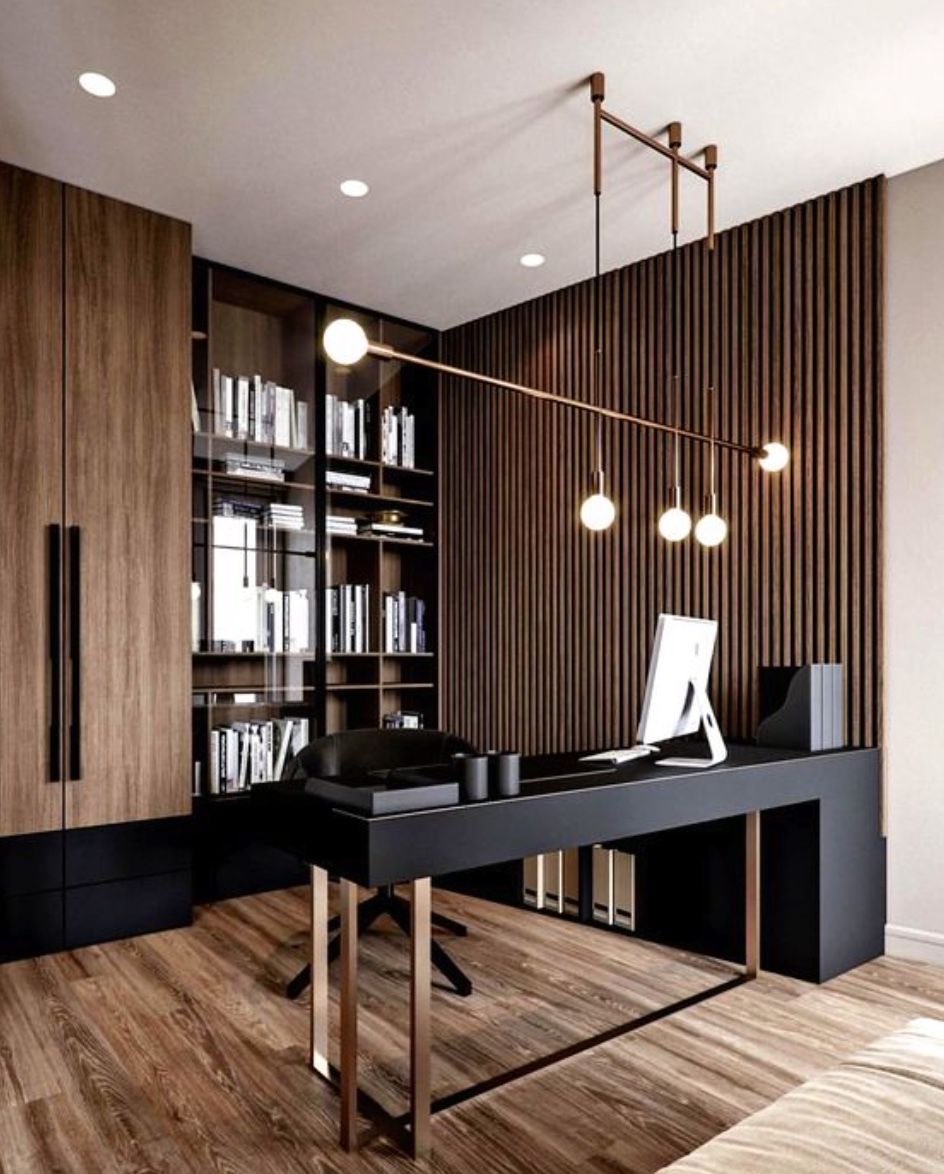
In the period since COVID forced many of us back home and out of the office, remote work has become the new norm for many. The flexibility of working from home, especially for those with small children, is very compelling, but making a productive workspace is more than setting up a desk in the spare room. More people are seeking to create functional and comfortable workspaces in their homes, however, it can be difficult to strike the right balance between a professional office space and a cosy home environment. Here are some tips for designing a home workspace that meets both of these needs: Dedicate a specific area for work Designating a specific area for work is essential for separating work from leisure time. This could be a separate room or just a corner of a room. It is important to make sure that the workspace is free from distractions and clutter, as this will help you stay focused and productive. Choose the right furniture Ergonomic furniture is key to a comfortable and productive workspace. Invest in a comfortable chair, a desk that is the right height, and a good-quality mouse and keyboard. If you are prone to back pain, consider a standing desk. Add personal touches Just because your workspace should be functional, doesn’t mean it can’t be personal. Add photos, plants, and other personal items to make the space feel like your own. This will help create a sense of comfort and make you feel at home in your workspace. Good lighting Good lighting is essential for a comfortable workspace. If possible, place your desk near a window for natural light. If not, invest in a high-quality desk lamp to provide bright, even light. Keep it organised An organised workspace will help you stay productive and focused. Use desk organisers, filing cabinets, and other tools to keep your work area free from clutter. A clean and organised workspace will also help you start each day with a clear mind. Consider your work style Think about the type of work you do and how you like to work. If you prefer a minimalist workspace, opt for a simple desk and a few basic supplies. If you need space for multiple screens and other technology, make sure you have enough room to work comfortably. Take breaks It’s important to take breaks throughout the day to avoid burnout. Step away from your desk, go for a walk, or do some stretching exercises to clear your mind and recharge.

Considerations to keep in mind when you are looking to upgrade your heating system